In Adobe Digital Publishing Solution (DPS 2015), projects are containers in which content for a specific app is stored. Projects are associated with an app via a common Bundle ID, so that the project knows to deliver any contained content to that app.
Within the DPS Portal, multiple projects and apps can be created, so it’s important to understand the relationship between a project and its target app. It’s also important to keep track of what gets defined where. Depending upon roles, some users may only have access to some projects.
To select or work on a specific project, use the project selection drop-down in the top center of the portal screen.
Settings defined for a project include:
- Basic Information: Project Title, Link Reference, Social Sharing, and a Brand Image
- Store Settings: Varies depending upon platform but includes things like Store Shared Secret
- Content Settings: Free Collections, Article Preview, Article Threshold, and Start Time
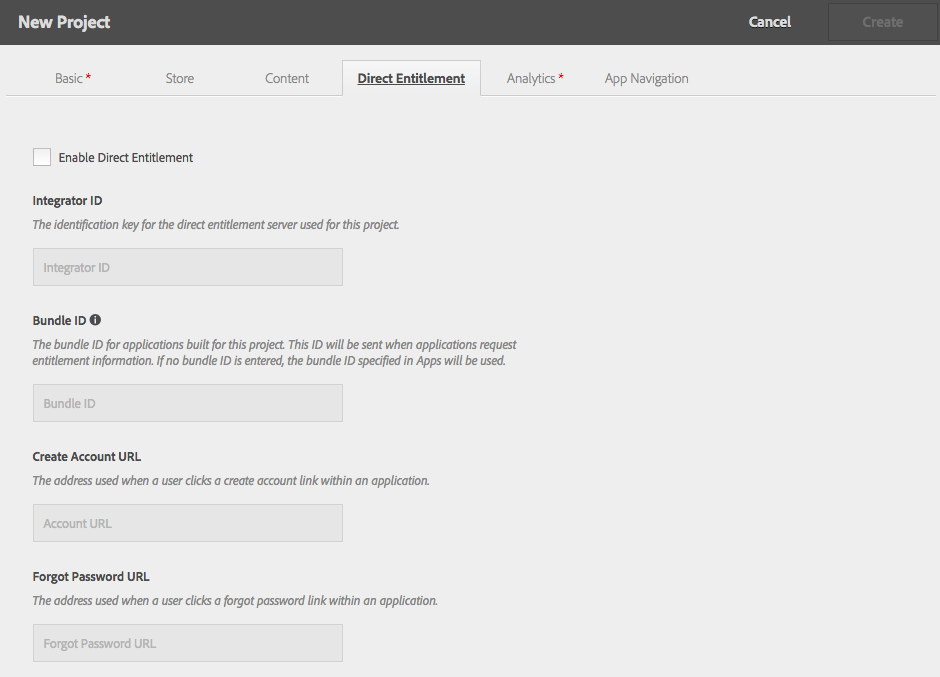
- Direct Entitlement: Integrator ID, Bundle ID, Create Account, and Forgot Password URL
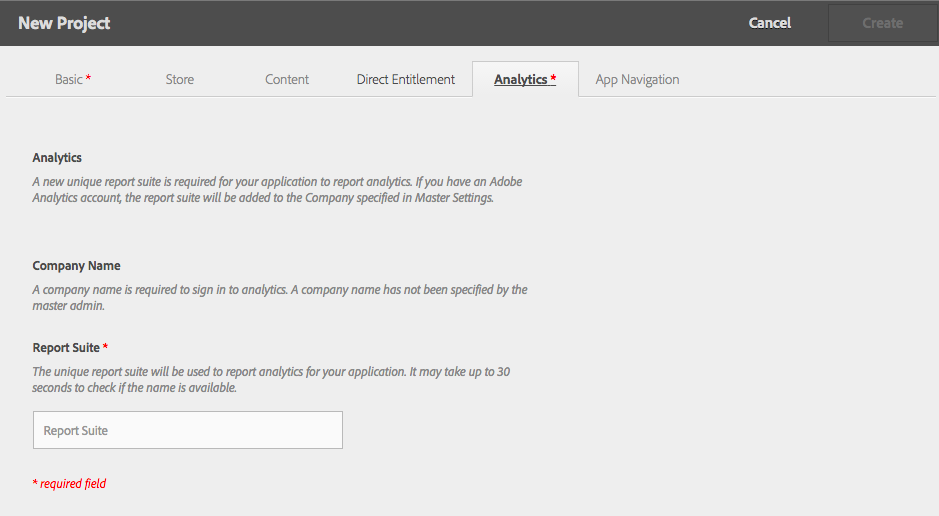
- Analytics: Company Name and Report Suite
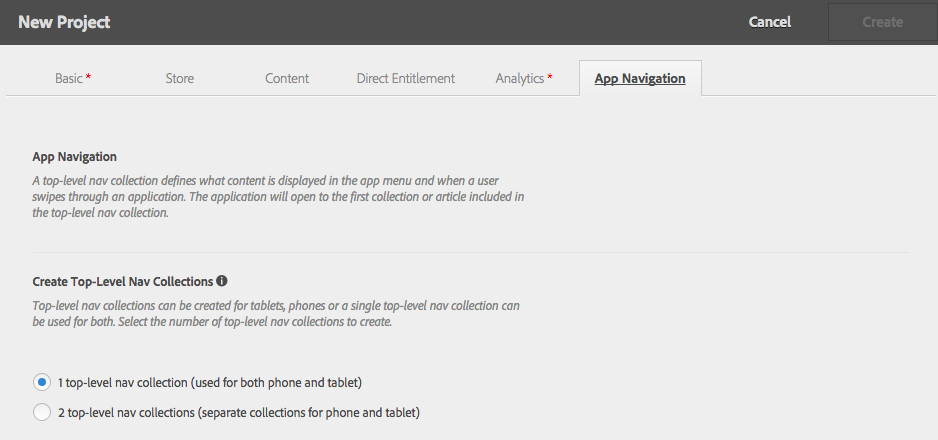
- App Navigation: Top- and Second-Level Collection definition
Once a project is created, content is created within the project (by choosing the target project in the drop-down). Content for a project is organized by collections, and can be in one or more collections. Content can consist of articles (InDesign or HTML), banners (static or hyperlinked), or migrated folios. Metadata is defined at the content and collection level for display within the app.
Note: Creating a project requires an Adobe ID with a Master Admin role.
Create a Project
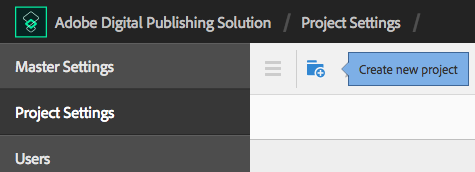
- Sign into the DPS Portal using an Adobe ID with a Master Admin role and select Project Settings in the navigation rail.
- Click the Create a New Project icon.
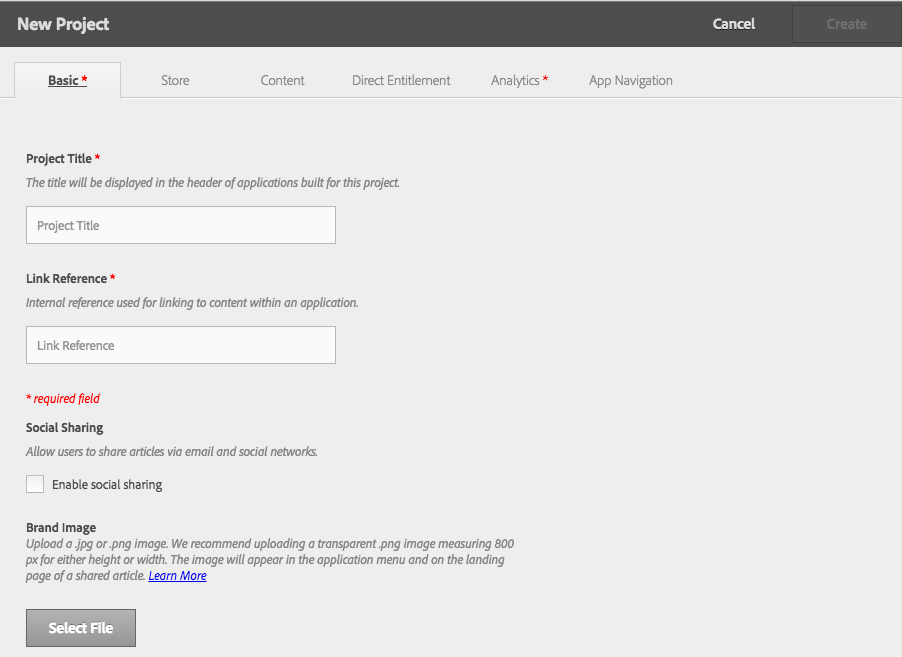
- Select the Basic tab and specify the following:
- Project Title Title displayed in the header of all apps built for this project.
- Link Reference A unique name using the recommended reverse domain format (com.company.publication) for linking content within an application.
- Social Sharing Enable social sharing to allow readers to share content.
- Brand Image Upload an image to identify your app, to appear in the application menu and on a shared article.
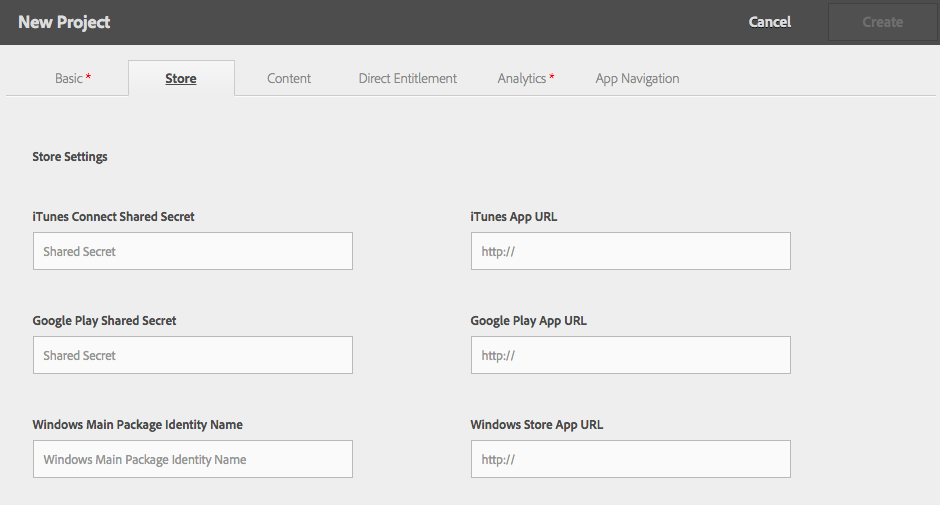
- For retail apps, select the Store tab and specify the following information for the type(s) of app you are creating:
- iTunes Connect Shared Secret and iTunes App URL
- Google Play Shared Secret and Google Play App URL
- Windows Main Package Identity Name and Windows Store App URL
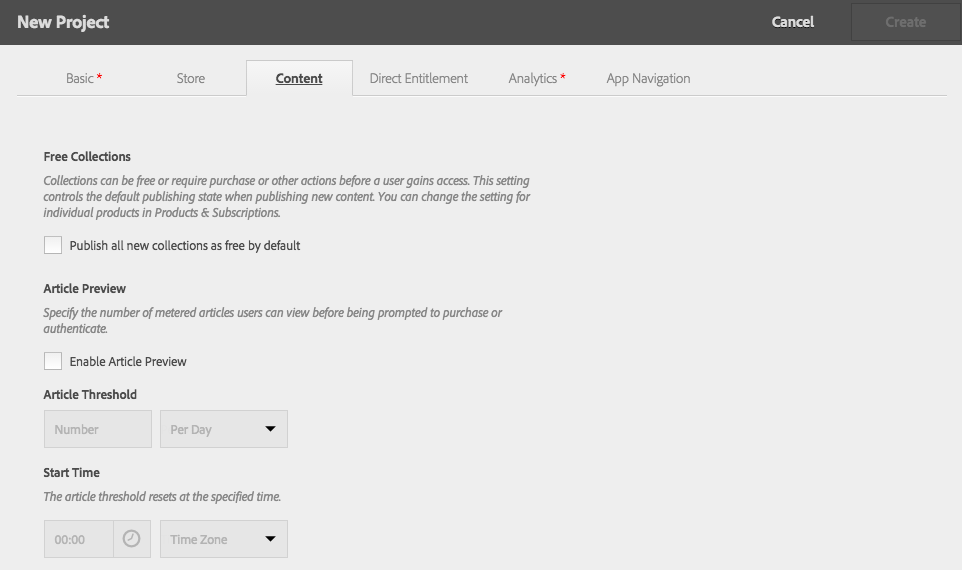
- Select the Content tab. Either select to Publish all collections as free under the Free Collections options or deselect if collections will require purchase. Article Preview options can be enabled and then specifications can be set. For example, the threshold for the number of metered articles accessed in a certain time period before a user is prompted to purchase can be set, and the time that a threshhold is reset can be defined.
- Select the Direct Entitlement tab. Enable direct entitlement in your app and specify the Integrator ID of the entitlement server, a Bundle ID, Create Account URL, and the Forgot Password URL.
- Select the Analytics tab. Enter a unique name for the Report Suite, which is a required field for an application’s analytics tracking.
- Select the App Navigation tab. Choose the option to use one top-level nav collection for both phones and tablets or to create separate collections.
- Click Create.
Note: You can edit project settings at any time by selecting the project and clicking the pencil icon. However, you cannot edit certain settings such as the Analytics Report Suite name or the top-level nav collection option.
Add a User to a Project
After a project is created, users can be added to the project and assigned roles or permissions that allow them to perform different tasks, such as building apps or creating and publishing content.
Note: A user’s Adobe ID must have Manage Project rights to perform this task
- Sign in to the DPS Portal.
- Select Users from the navigation rail.
- Select the project to add the user to. Click the Add User (+) button.
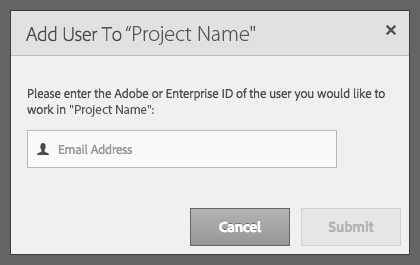
- Enter the user’s email address. Click Submit.
Note: An error message will appear if the email address is not associated with a valid Adobe ID. - Select the role or permissions to assign to the user from the drop-down menu. This list should include all roles defined by the Master Admin.
- Click Save.
The user can now sign in using their Adobe ID, and will have access to all projects they have been added to and the ability to perform the tasks associated with the role or permissions they were assigned in those projects.
For more information on Adobe Digital Publishing Solution, see our announcement about the product or Adobe’s DPS Overview page. For weekly tips and updates on DPS, DPS 2015, and InDesign, check out our blog and sign up for our newsletters. Want to learn even more and become an InDesign or DPS expert? Check out all our best-selling handbooks and apps.
Note: Information contained in this post is current at the time of posting. Visit the Technology for Publishing News & Events blog for the latest info on Adobe software releases and functionality.
Posted by: Monica Murphy